Grain Salad, Two Ways

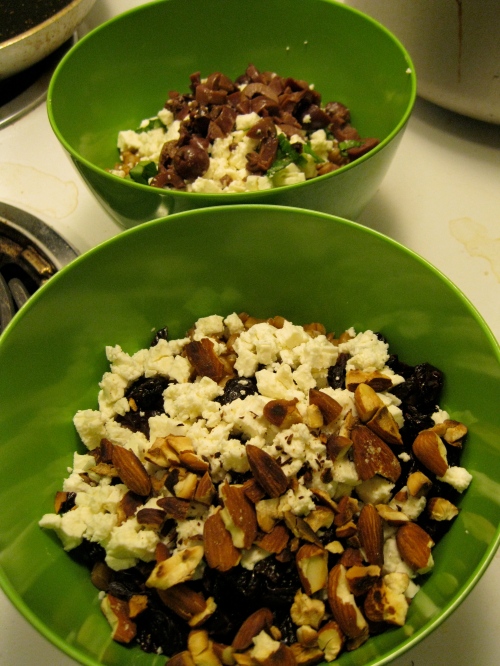
Lately, I’ve been doing a lot of cooking on Sundays and eating the food throughout the week.  This week I tried a really good salad at the local Coop deli and decided to make some myself, especially since it used feta, and I was still trying to use up that same old block.  I decided I would get sick of the salad though if I had 4 servings of the same thing though, so I divided it in half and dressed up one half sweet with dried cherries and toasted almonds, and the other more savory with basil and kalamata olives.  The only thing about this that is at all difficult is that you have to remember to soak the spelt berries overnight (or for 8 hours or so) before beginning to cook.  Don’t be intimidated by them: they’re a lot like barley, with a chewy texture and nutty flavor.

how to cook the spelt berries
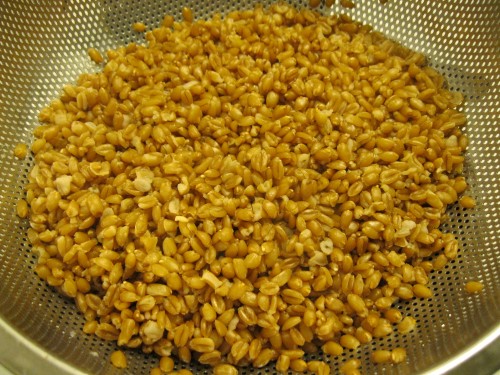
1. soak 1 cup spelt berries overnight in a pot of water
2. drain and rinse
3. add 5 cups of water to the spelt berries and bring to a boil
4. reduce heat to medium-low and simmer 45 minutes.  spelt berries should still be firm but tender.
5. drain and rinse, and return to the pot
6. stir in 2 tbsp olive oil to keep the grains from sticking
7. divide grains into two bowls.

basil, olive and feta salad
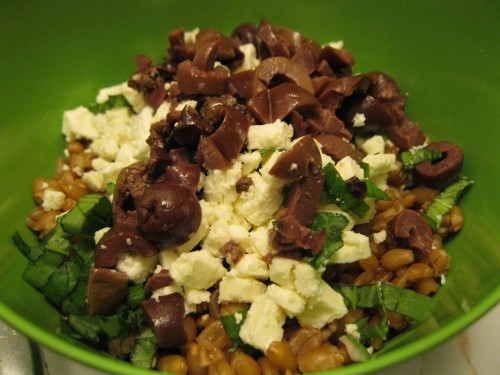
1. Chop 1/4 c. feta and 1/4 c. kalamata olives and add to grains.
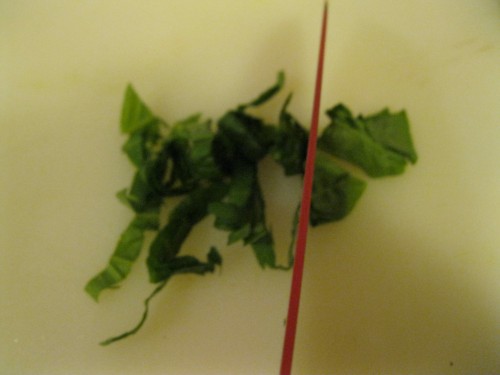
2. Grab a handful of basil and remove the stems.  To chiffonade the basil (the fancy word for cutting it into strips), lay the leaves one on top of another.
3. Next, roll the stack of leaves into a tube.
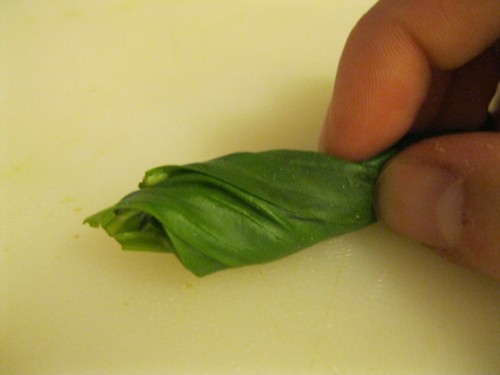
4. Now slice the tube into discs.
5. Add the basil and 2 tbsp balsamic vinegar to the grain mixture, and stir.

cherry, almond and feta salad
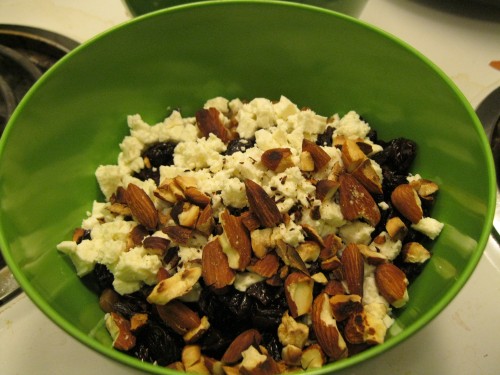
1. Add 1/4 c. chopped toasted almonds, 1/4 c. chopped dried cherries, and 1/4 c. chopped feta cheese.
2. Add 2 tbsp balsamic vinegar and stir

Wheat Berries on Foodista

Mid-Week Quickie: Greek Baked Beans with Feta

Ok.  I’ll admit it upfront: This is not a true quickie, because you have to bake it for an hour and fifteen minutes.  But it’s less than fifteen minutes of active time, so you just have to get it together to prep it an hour or so before you want to eat.

Since I bought feta cheese for a pasta salad a few weeks ago, I’ve been looking for ways to use up the leftovers.  I saw this recipe for Yigante Beans that I just couldn’t stop thinking about, and ultimately ended up combining that recipe with this one, and adapting them to make the whole thing ridiculously easy.

Ingredients
One 14 oz. can butter or lima beans, drained (because I clearly didn’t plan ahead enough to soak dried beans)
One 14 oz. can diced tomatoes, drained and chopped
1 medium onion, finely chopped
dried herbs, whatever suits your fancy.  I used basil, thyme and a bay leaf.
1 tablespoon honey
1 tablespoon tomato paste
1/8 c. red or white wine vinegar
kosher salt and fresh ground black pepper
1/4 c. crumbled feta cheese
extra virgin olive oil

Instructions
Preheat the oven to 325°.

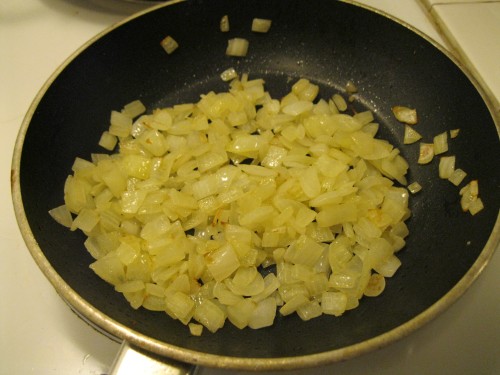
Heat a nonstick pan on medium and add a tablespoon of olive oil.  When it shimmers, add your beautifully chopped onions (see last post).  Add a pinch of salt and cook over medium-low heat for about 10 minutes, or until soft and translucent, turning the heat down if they start to brown.
When the onions are almost done, heat a half cup of water in the microwave to boiling.  Then, in a baking dish (I think mine is 6″x9″) combine the beans, tomatoes, and cooked onion.  Add your dried herbs, crushing them in your palm before you add them – this is a trick to help release the oils in dried herbs.

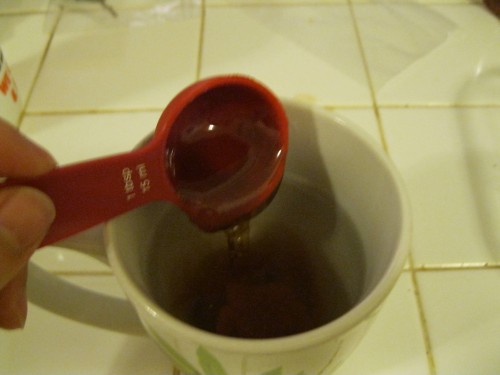
Now, add the tomato paste and honey to the water and stir until dissolved.
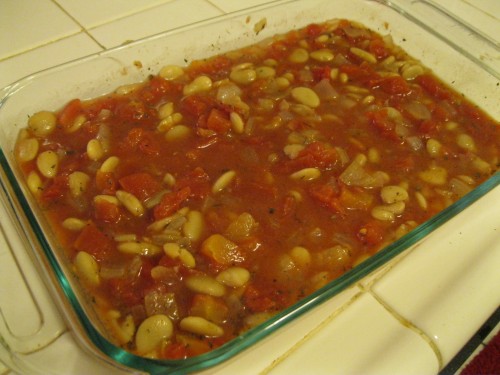
Add the tomato/honey mixture to the beans and stir to combine.  Add a pinch of salt and a few grinds of pepper, and your bay leaf, and pop that baby in the oven.
After one hour, take the dish out and stir in the vinegar.  Sprinkle the feta over the top, and put the dish back in the oven.  Turn the heat up to 375 and bake 15 minutes longer.  Ta da!
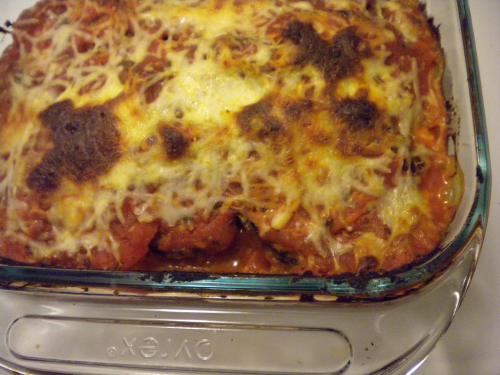
Serve with a crunchy salad–mine was cubed tomato, cucumber and avocado with balsamic vinagrette.  Enjoy!

Lima Bean on Foodista

How to Chop an Onion

For the beginner kitchibitionists out there, I thought I’d go through the easiest way to chop an onion, and you can do it all in three steps.  After all, almost every recipe starts with chopped onion, and more efficient chopping means less time crying from onion fumes.  So grab a knife, grab an onion, and let’s do this.

Step 1: Make the onion your friend.
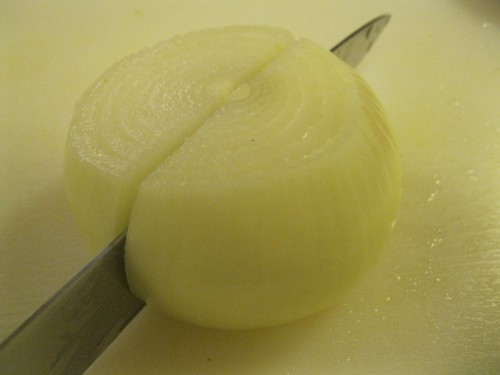
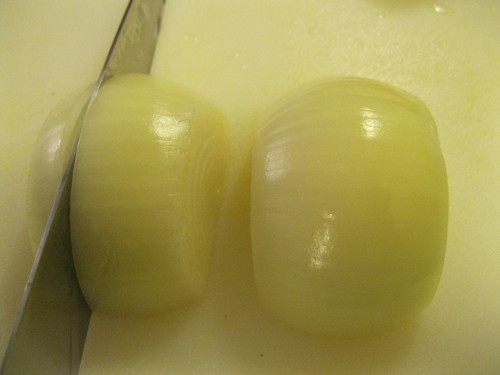
Not as cheesy as it sounds, folks.  Cutting something round is terrible – you want to make flat surfaces so that the onion is stable while you are chopping it.  So cut off both pointy ends of the onion, peel the brown outer layer off, and stand it on one now-flat part.  Cut it in half from top to bottom, and lay the two halves flat.
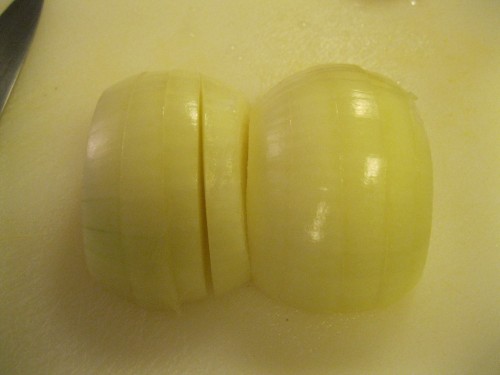
Step 2: Slice each half parallel to the cut ends.  Watch your fingers – hold the onion steady, but make sure they are out of the way of the knife!

Why parallel, you ask?  Because if you slice parallel, the onion will stay together much better when you get to the next step!  This step and the next step are where you determine how finely you chop the onion–make slices very close together to mince, or far apart to roughly chop.

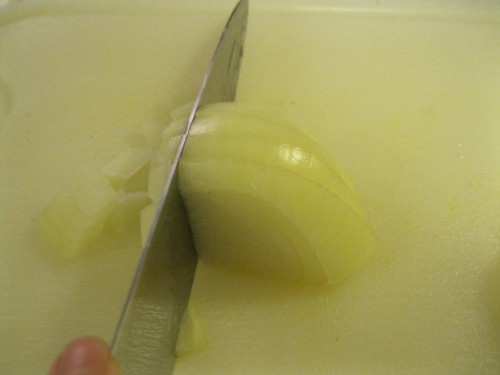
Step 3: Carefully rotate each sliced half a quarter turn, and move across the onion, making slices perpendicular to the ones you already made.

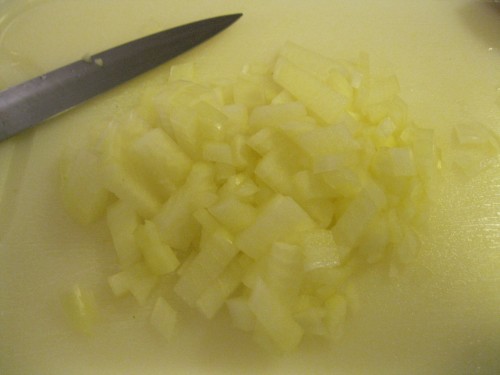
And voila!  Chopped onion!

Onion on Foodista

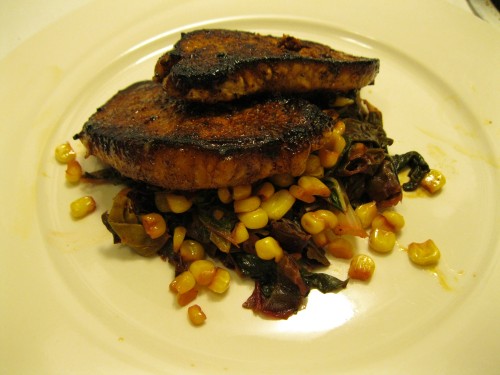
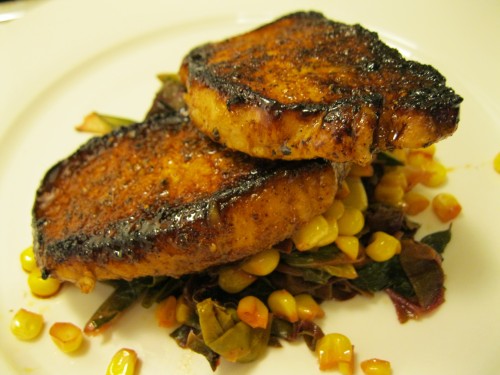
Mid-Week Quickie: Honey Butter Pork Chops with Cider Greens

All I have to say is make this.  Immediately.

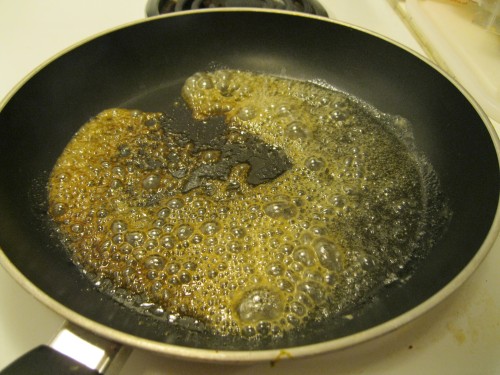
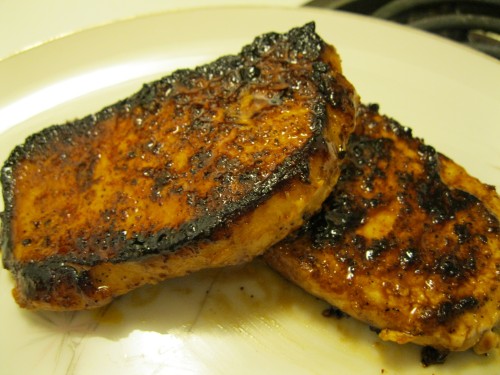
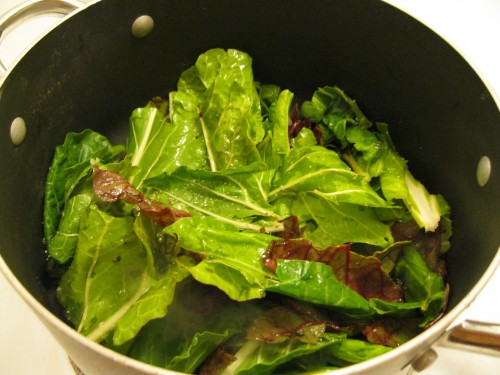
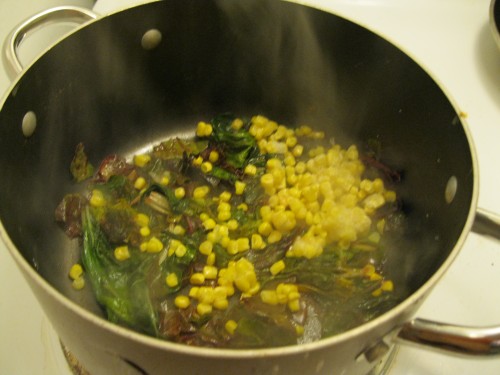
I got the recipe for the pork glaze from Momma Hen’s Kitchen, and adapted it for pork chops instead of the tenderloin she used.  I had some chard that needed to be used up so I cooked it down with salt and chili powder, added apple cider vinegar to cut the richness of the pork, and on a last-minute whim, threw in some frozen sweet corn.  And all said, it was twenty minutes start to finish with only the two pans I used to cook.

Ingredients
2 boneless pork chops
1.5 tbsp butter
1 tbsp honey
cajun seasoning (or, if you’re me and you don’t have cajun seasoning, you can approximate this with salt, black pepper, onion powder, cayenne pepper, and chili powder)
1 bunch chard (whatever kind you like – I used mixed), rinsed and ripped into large pieces, with hard stems removed
2 tbsp olive oil
1-2 tbsp apple cider vinegar, to taste
salt and chili powder
1/4 c. frozen corn

Instructions
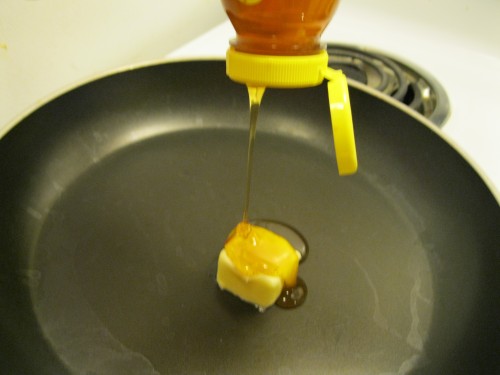
1. Heat butter and oil in a nonstick pan over medium heat.
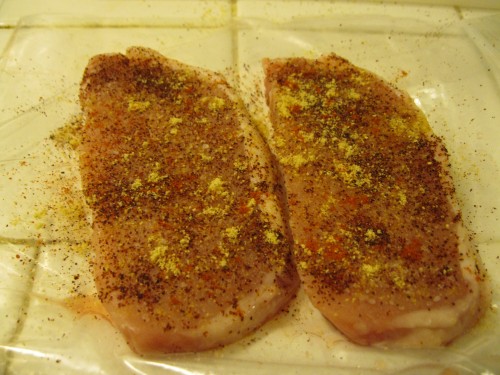
2. While the butter is heating, season the pork chops on one side with the cajun seasoning.
3. When the butter bubbles, add the pork chops to the pan, seasoned side down, and season the top side.  Cook 2-3 minutes, then flip the chops.  Cook until the chops are no longer pink in the middle.  This could be as little as 2 minutes per side if the chops are thin – don’t overcook them!  You can always cook them more later if they are too rare.
4. Now, onto the chard.  Heat the olive oil in a nonstick pot over medium-high heat, and when it shimmers, add the chard.  Sprinkle with a large pinch of salt and another of chili powder.
5. Saute until the chard wilts.  Add the vinegar and corn, and stir.
6. When the corn is hot, you’re ready to go!

Yes, please.

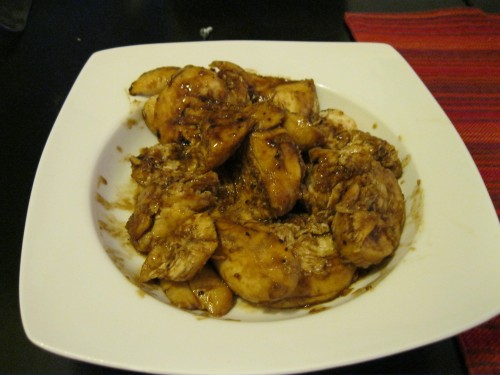
Balsamic Roasted Chicken

Chicken. So boring, but essential to a busy lifestyle. I’m always looking for some way to spice it up — a good marinade makes all the difference in the world. This intense glaze and marinade is modified from Giada DeLaurentis’ Balsamic Glazed Chicken Wing marinade.

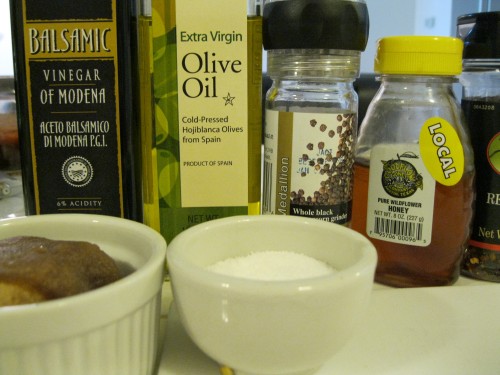
Ingredients
2 boneless skinless chicken breasts
2 tbsp balsamic vinegar
2 tbsp honey
2 tbsp brown sugar
1 tbsp soy sauce
1 tbsp olive oil
2 cloves garlic, finely minced
pinch kosher salt
freshly ground black pepper
1 pinch red pepper flakes

Instructions
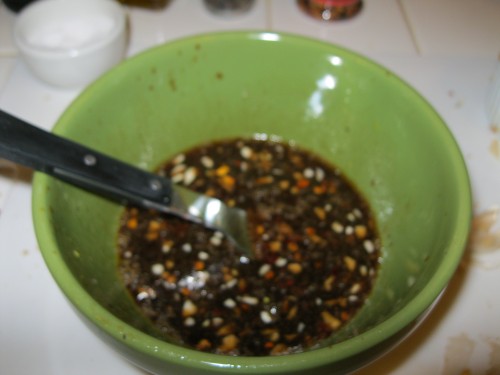
Mix all ingredients together, whisking with a fork until the brown sugar is dissolved and the honey is distributed.

Pour marinade into a ziplock bag and add the chicken breasts.  Marinate at least 30 minutes, or for best results, up to 2 hours.
Preheat oven to 375.  Shake off excess marinade (reserving marinade) and place chicken on a foil-lined baking sheet coated with cooking spray (you’ll thank me later for this – otherwise you will never get the crust off your baking sheet).  Roast 25 minutes, or until the chicken is cooked through and no longer pink in the middle.  While the chicken is roasting, pour the leftover marinade into a small saucepan and boil until the liquid reduces to a glaze.
Slice the cooked chicken on a diagonal and toss with the reduced glaze (or drizzle the glaze over the chicken, if you’re going for the artsy look).

I served this chicken with cheesy zucchini and orzo and a salad.  Success!

Balsamic Marinated Chicken on Foodista

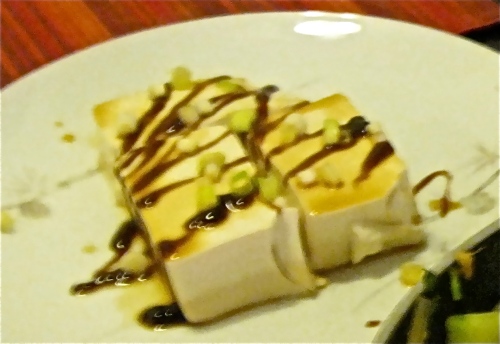
Steamed Silken Tofu with Scallions

My friend R. sent me a link to the droolworthy foodgawker today, and the first thing that caught my eye was the Steamed Silky Soft Tofu.  And just like that, I had to have it.  R. and I were already planning to cook something tonight with the fresh thai basil and mushroom soy sauce I got this morning at the Asian supermarket in Austin.  I ran out to get some silken tofu and we were in business.

This might be one of the easiest recipes a person could make.  All you need is a big pot and a steamer basket.  The original recipe used a heat safe plate as a steamer plate, but I just went for the basket to be safe.

what you need:
– 1 box of Silken brand firm tofu
– about 1 tablespoon mushroom flavored soy sauce (I’m partial to Healthy Boy brand)
– about 1/2 tablespoon hoisin sauce or oyster sauce
– 1 scallion, thinly sliced

what to do:
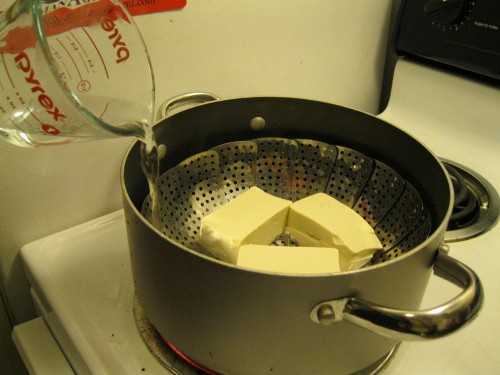
Place the steamer basket in a pot with about 1/2 inch of water.  Place the tofu in the basket – if you need to cut it into two or three pieces so it fits, that’s just fine.  Turn the heat to high and cover the pot.  Steam the tofu for 15 minutes, watching to make sure there is still water left in the pot.  If the water gets too low, add a cup of hot water, 1/2 cup at a time.  If you are feeling fancy, while this is going on you can sautee some sliced shallots until crispy, but I left the shallots out because I forgot to get them.

After 15 minutes, gently remove the tofu from the steamer with a spatula.  Drizzle the tofu with soy and hoisin, and sprinkle with scallions and shallots if you’re using them.

And that’s all!  So easy, and surprisingly packed with flavor.  Enjoy!

Leigh on Foodista

Back in action!

Kitchibitionist, take two.  I’m back in Austin, back in school, and back to cooking.  Lots of recipes to come soon!

Hiatus :(

I am sorry to report that the Kitchibitionist will be on hiatus until May 15.  I keep thinking I will find time to share all the things I’ve cooked with you (somehow, I am still finding time to cook), but it hasn’t happened, so I think it’s time to admit that the Kitchibitionist needs to take a break until after finals.  I’m including some teaser pictures of things that I promise I will post once finals are finished.  In the meantime, enjoy the spring weather, and see you in a month!

Orange Pan-Glazed Tofu & Lentils

I had some tofu I needed to use, and had been trying to figure out a good substitute for rice as a base for tofu dishes.  I decided to try lentils and the verdict was great success.  I found this great recipe on 101 Cookbooks for Orange Pan Glazed Tempeh.  I followed it with a few little modifications, and added steamed broccoli and cooked lentils.  Note that it was very pretty when it was first made, and while it still tasted good reheated as leftovers, it was not nearly as appealing looking.  One other thing – next time I’d think about doubling the sauce…but I like things saucy 🙂

ingredients
10-12 oz extra-firm tofu
1 c. orange juice (freshly squeezed is preferred – I juiced the one orange I had, and then filled it in with bottled juice)
1 tbsp grated ginger
2 tsp soy sauce
1.5 tbsp mirin (or white wine of your choice)
2 tsp maple syrup (I used the fake kind and it was fine.  i won’t tell if you don’t.)
2 small garlic cloves, chopped
2 tbsps olive oil
1/2 lime

instructions

1. cut the tofu into squares about 1/2 inch thick.  place on top of about 4 paper towels, and top with another 4 layers of paper towel, and put a weight on top.  i used a frying pan.  let this sit for about 15 minutes – the tofu will be nice and dry.

2. mix the orange juice, grated ginger, soy sauce, maple syrup, mirin or wine, and garlic in a small bowl.  set aside.

3. heat the olive oil in a large frying pan over medium-high heat. when the oil is hot and shimmers a little, add the tofu and fry 5 minutes on either side, so that it is nice and golden brown.

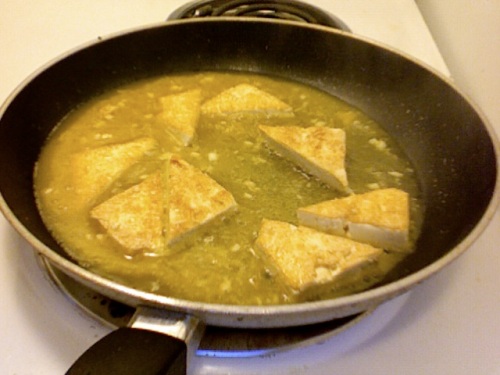
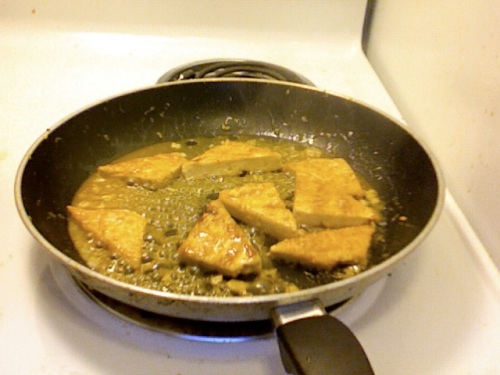
4. pour the orange juice mixture over the tofu and simmer 10 minutes, turning the tofu to coat occasionally – the sauce will reduce to a thick glaze.

just starting to reduce….
now we’re talkin

5. serve over steamed broccoli and cooked lentils.

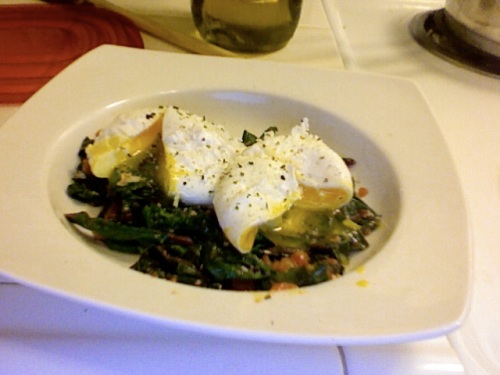
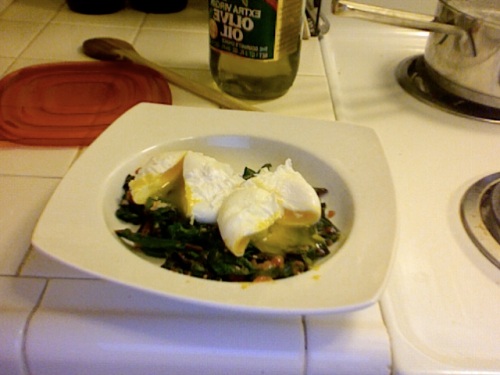
Poached Eggs over Garlicky Chard

Hello world, this is your guilty blogger writing.  I have so many new recipes to share with you and I just haven’t been able to find the time to put them up.  I’m going to try to get back on the wagon though.  Most of the stuff I’ll be posting in the next month or so will be relatively easy and quick, since it’s finals prep time and life is a little hectic.  This is a ridiculously easy and quick recipe that I really loved.

A big part of this recipe is the poached eggs.  I was a little unsure of how they would come out, but it turns out they aren’t as easily ruined as you’d think.  Don’t worry too much, just go for it – you’ll thank me later as you find yourself eating poached eggs on EVERYTHING (more to come on that in a later post).

ingredients
1/2 bunch swiss chard
1 roma tomato
1 tbsp minced garlic
2 tbsp olive oil
2 eggs
2 tsp white vinegar
salt and pepper

instructions
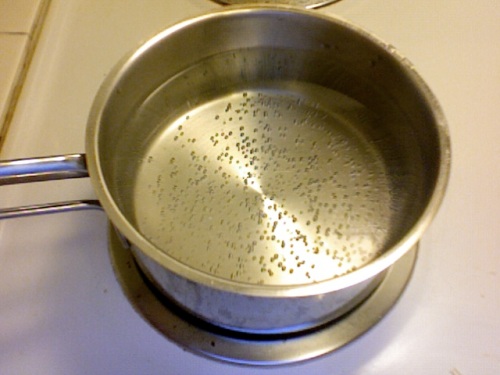
1. put a small pot of water over high heat.  you want to keep the water at a low simmer – just below boiling – so that tiny bubbles are coming up slowly, but no big bubbles.  add 2 tsp vinegar and stir.

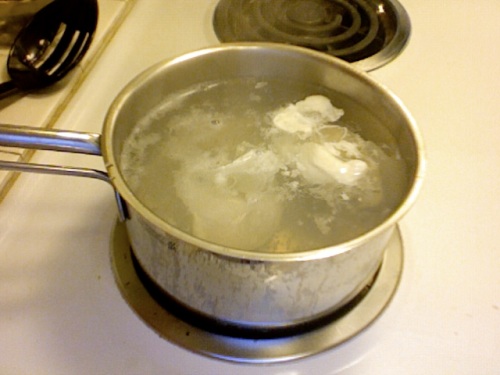
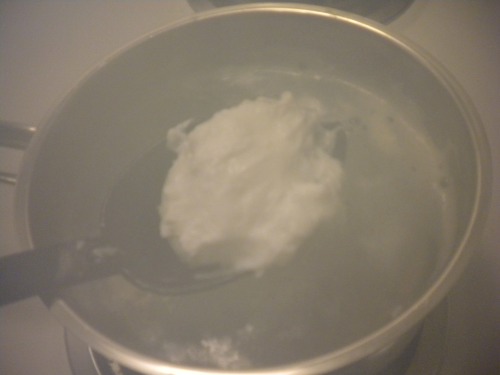
2. crack the eggs into individual small bowls or ramekins (or do them one at a time).  gently slide the eggs into the water one at a time, dipping the ramekin into the water as you do it so there is no drop for the egg.  once you’ve added the eggs, tap the surface of the water with your slotted spoon a couple times to break the surface tension.

3. simmer 3-4 minutes.  to test if the egg is done, lift it out of the water with a slotted spoon, and touch the white – you want the white to feel fairly firm, but still tender.

4. slide the eggs into a bowl of ice water, then remove, set on a plate and cover with plastic wrap.  this ice bath will stop the cooking process.

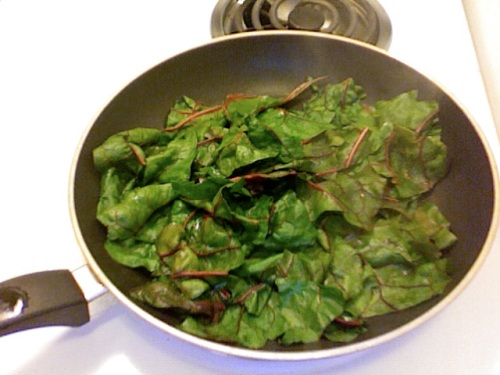
5. heat a sautee pan over high heat.  while the pan heats, trim the tough veins from the chard and rinse the leaves.  rip into bite-sized pieces, remembering that the chard will shrink significantly during cooking.  add the olive oil to the pan, and when it shimmers, add the chard and a pinch of salt.

6.  while the chard cooks down, dice the tomato.  add the tomato and garlic to the chard in the pan and stir.  cook about 3 minutes, until the chard is all wilted and the tomato and garlic are soft.

7. serve the chard with the poached eggs on top.  top with fresh ground black pepper and kosher salt to taste.